Exploring Psychedelics for Mental Health
Psychedelic Therapy


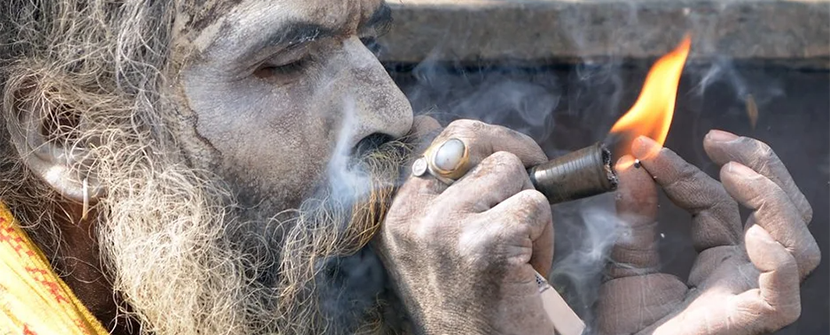
Microdosing psilocybin mushrooms has gained popularity in recent years as a potential way to experience the benefits of this psychedelic substance without the intense, mind-altering effects of a full dose. Microdosing involves taking a sub-perceptual amount of psilocybin, which is typically 1/10 to 1/20 of a full dose. Here is a beginner's guide to microdosing psilocybin mushrooms:
Microdosing is often used to support emotional and mental health, creativity, productivity, and focus. Many people report feeling more connected to their emotions, increased empathy and creativity, and greater overall well-being. It's important to note that the effects of microdosing are still being studied, and there is no conclusive evidence on its long-term effects.
Before you begin microdosing, it's important to make sure that you are in a stable and positive state of mind. If you have a history of mental health issues or are currently taking medications, it's important to talk to a healthcare provider before starting to microdose. Additionally, it's important to make sure that you have a reliable source of psilocybin mushrooms and to measure your dose accurately.
To microdose, you will need to measure out a small amount of psilocybin mushrooms. A typical dose is between 0.1 and 0.5 grams of dried mushrooms, depending on your individual sensitivity. You can consume the mushrooms directly, mix them into a drink, or add them to food. It's important to wait at least two days between doses to avoid building up a tolerance.
The effects of microdosing psilocybin mushrooms can vary widely depending on the individual and the dose. Some people report feeling more creative, productive, and focused, while others report feeling more relaxed, connected to nature, and in touch with their emotions. It's important to be aware of your own reactions to microdosing and to adjust your dose accordingly.
While microdosing is generally considered safe, there are some potential risks and side effects to be aware of. These can include changes in mood or anxiety, increased heart rate or blood pressure, and possible interactions with other medications. It's important to talk to a healthcare provider before starting to microdose and to monitor your reactions carefully.
In conclusion, microdosing psilocybin mushrooms is a potential way to experience the benefits of this psychedelic substance without the intense, mind-altering effects of a full dose. However, it's important to approach microdosing with caution, to be aware of your individual reactions, and to talk to a healthcare provider before starting to microdose.


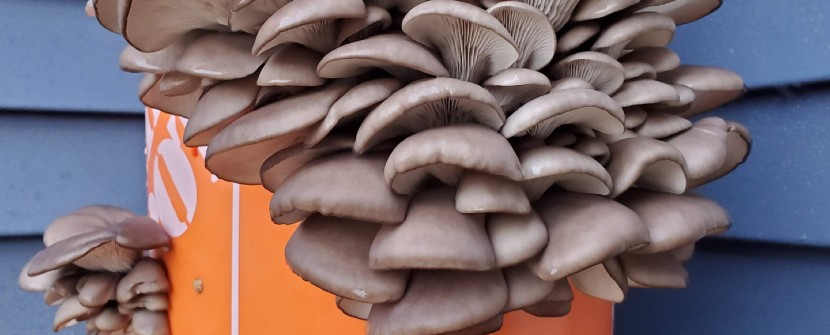
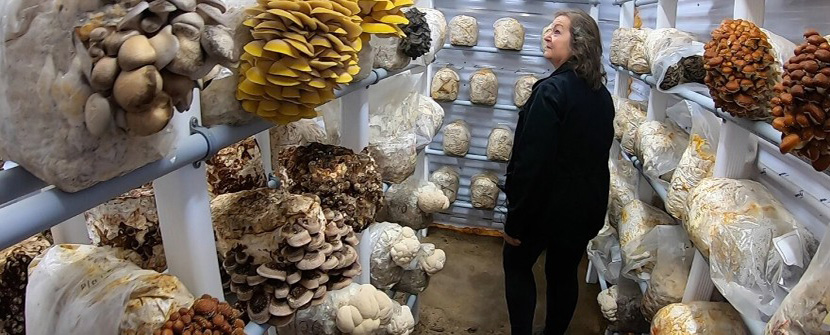
Mushrooms are a delicious and nutritious food that can be grown at home with some simple equipment and materials. One of the easiest ways to grow mushrooms is in buckets, which provide a suitable environment for the fungi to thrive. In this blog post, we will show you how to grow mushrooms in buckets using oyster mushrooms as an example. Oyster mushrooms are one of the most popular and versatile mushrooms, and they can grow on a variety of substrates, such as straw, wood chips, sawdust, or sugarcane mulch.
Once you have all your supplies, the first step is to prepare your bucket. Drill holes all around the bucket using a 1/4 inch or 1/2 inch drill bit, leaving about 4-6 inches of space between each hole. These holes will allow air exchange and mushroom growth. Wash your bucket and lid with warm soapy water and rinse well.
The next step is to pasteurize your substrate to kill any unwanted organisms that could compete with the mushrooms. There are different ways to pasteurize your substrate, but we will use the hot water method as an example.
Fill a large plastic tote or container with water and bring it to a boil on a stove or burner. Add your substrate to the boiling water and stir well. Cover the container with a lid or cover and let it soak for about an hour. Alternatively, you can use hydrated lime solution instead of water for pasteurization. To make hydrated lime solution, mix one cup of hydrated lime with five gallons of water in a large container. Add your substrate to the solution and stir well. Cover the container with a lid or cover and let it soak for about 16 hours.
After pasteurizing your substrate, you need to let it cool down and drain excess water before adding the spawn. You can either let it cool overnight or use cold water to speed up the process. To drain your substrate, you can use a colander, a mesh bag, or a pillowcase. Squeeze out as much water as possible from your substrate until it is moist but not dripping wet.
Now that your substrate is ready, you can add your oyster mushroom spawn to it. Break up your spawn into small pieces and mix it well with your substrate in a large bowl or container. You want to distribute the spawn evenly throughout the substrate so that every part of it gets colonized by the mushroom mycelium.
Take your prepared bucket and fill it with your substrate-spawn mixture, packing it firmly but not too tightly. Leave about 2 inches of space at the top of the bucket. Put the lid on your bucket and cover it with a clear plastic bag. Poke some small holes in the bag for ventilation. Label your bucket with the date and the type of mushroom you are growing.
Place your bucket in a dark and warm place, such as a closet, a basement, or a garage. The ideal temperature for oyster mushroom colonization is between 65°F and 75°F. Keep your bucket in this environment for about 2 to 4 weeks, or until you see white mycelium covering the entire surface of the substrate and growing out of the holes in the bucket. This means that your bucket is fully colonized and ready to fruit.
To fruit your bucket, you need to expose it to light, fresh air, and humidity. Move your bucket to a bright and airy place, such as a windowsill, a balcony, or a greenhouse. The ideal temperature for oyster mushroom fruiting is between 55°F and 70°F. Remove the plastic bag and the lid from your bucket and mist your mushrooms daily with water to keep them moist. You should see small mushroom pins forming within a few days, which will grow into full-sized mushrooms within a week or two.
When your mushrooms are ready to harvest, you can simply twist them off from the substrate or cut them with a sharp knife. You can harvest your mushrooms when they are young and tender, or wait until they are fully mature and have opened their caps. It's up to you and your preference. You can store your fresh mushrooms in a paper bag in the refrigerator for up to a week, or dry them for longer storage.
You can also get a second flush of mushrooms from your bucket by soaking it in cold water for about 12 hours and repeating the fruiting process. You may get smaller yields from the second flush, but it's still worth trying.