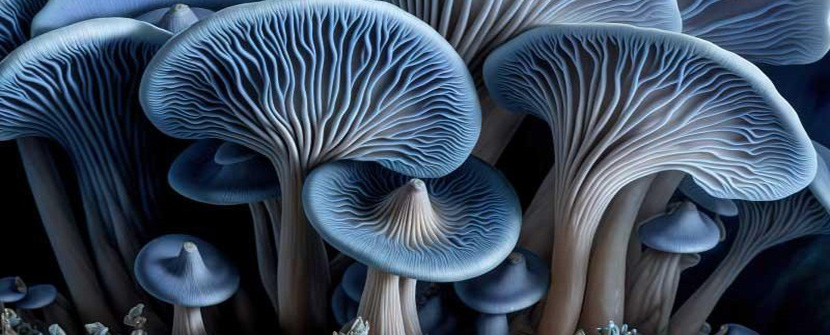
Spore Prints: Next Level Shroom Farming
Growing Mushrooms
Hey, mushroom lovers! Do you want to grow your own mushrooms at home, but worry about contamination ruining your crop? Well, fear not, because I'm here to share some tips on how to avoid contamination and enjoy fresh, delicious mushrooms all year round.
Contamination is when unwanted microorganisms, such as bacteria, mold, or yeast, invade your mushroom substrate or spawn and compete with the mushroom mycelium for nutrients and space. This can result in poor or no mushroom growth, unpleasant smells, and even health hazards if you accidentally eat contaminated mushrooms.
Here are some steps you can take to ensure a clean and successful mushroom cultivation:
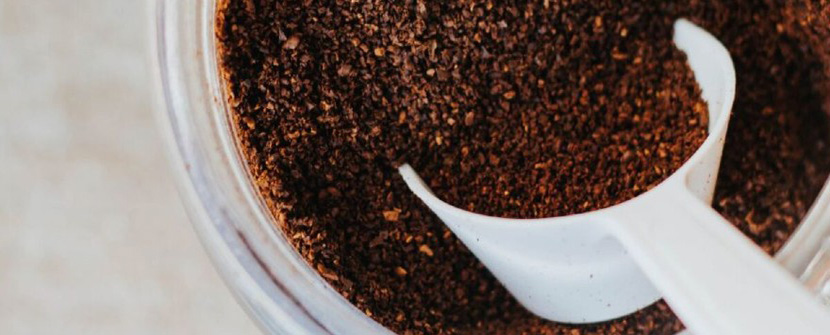
A substrate is the material that provides food and water for the mushroom mycelium. Different types of mushrooms prefer different substrates, such as straw, sawdust, wood chips, coffee grounds, etc. You can find many recipes online for making your own substrate mix. Whatever substrate you choose, you need to pasteurize it before inoculating it with mushroom spawn. Pasteurization is the process of heating the substrate to a certain temperature for a certain time to kill any unwanted microorganisms that may be present. You can pasteurize your substrate in various ways, such as boiling it in water, steaming it in a pot, or baking it in an oven. Just make sure you don't overcook it or dry it out too much.
Mushroom spawn is the material that contains the mushroom mycelium that you will use to inoculate your substrate. You can buy mushroom spawn from reputable suppliers online or in stores, or you can make your own from spores or tissue samples. Either way, you need to make sure that your mushroom spawn is fresh, healthy, and free of contamination. You can check this by looking at the color, texture, and smell of the spawn. It should be white or cream-colored, fluffy or stringy, and have a mild earthy or mushroomy smell. If it is any other color, slimy or dry, or has a sour or rotten smell, then it is probably contaminated and should be discarded. You also need to store your mushroom spawn in a cool and dark place until you are ready to use it.
This is probably the most important step to avoid contamination. You need to work in a place that has minimal dust, dirt, and air currents that could carry unwanted microorganisms to your substrate or spawn. You also need to sterilize your tools and equipment, such as jars, bags, knives, scissors, etc., before using them. You can do this by boiling them in water, wiping them with alcohol, or using a pressure cooker or autoclave if you have one. You also need to wear gloves and a mask when handling your substrate or spawn, and wash your hands thoroughly before and after working.
After inoculating your substrate with mushroom spawn, you need to keep an eye on your mushroom growth and watch out for any signs of contamination. Some common signs are:
If you see any colors other than white or cream on your substrate or spawn, such as green, blue, black, yellow, or pink, then you have a contamination problem. These are usually molds that can spread quickly and ruin your entire batch.
If you smell anything other than a mild earthy or mushroomy odor from your substrate or spawn, such as vinegar, ammonia, cheese, or rotting meat, then you have a contamination problem. These are usually bacteria or yeast that can produce harmful toxins and gases.
If your mushroom mycelium is not growing well or at all on your substrate after a few weeks of inoculation, then you may have a contamination problem. This could mean that your substrate is too dry or wet, too hot or cold, or has been overtaken by other microorganisms.
If you spot any signs of contamination on your substrate or spawn, you need to act fast and isolate the affected area from the rest of your batch. You can try to cut out the contaminated part with a sterile knife and dispose of it safely in a sealed bag or container. You can also try to salvage the healthy part by transferring it to a new pasteurized substrate in a new sterile container. However, sometimes it may be too late to save your crop and you may have to start over from scratch.
I hope these tips help you avoid contamination and grow healthy and tasty mushrooms at home. Remember to always be careful and clean when working with mushrooms and enjoy the fruits of your labor!
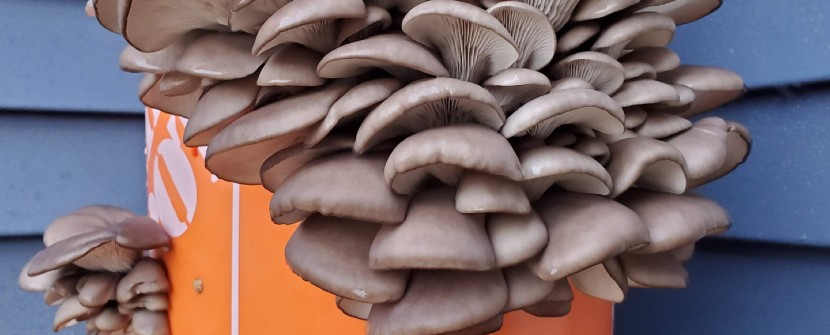
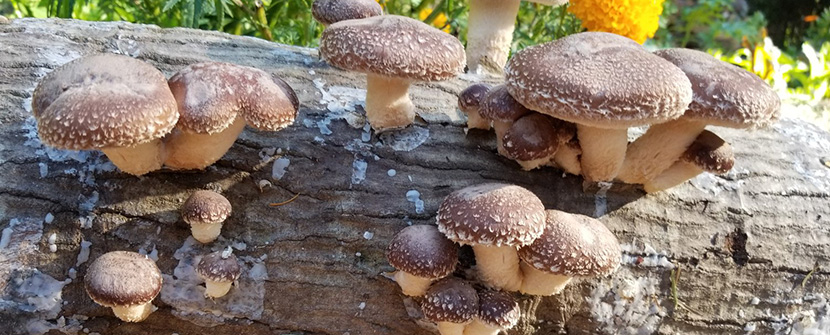
Mushrooms are a delicious and nutritious food that can be grown at home with some simple equipment and materials. One of the easiest ways to grow mushrooms is in buckets, which provide a suitable environment for the fungi to thrive. In this blog post, we will show you how to grow mushrooms in buckets using oyster mushrooms as an example. Oyster mushrooms are one of the most popular and versatile mushrooms, and they can grow on a variety of substrates, such as straw, wood chips, sawdust, or sugarcane mulch.
Once you have all your supplies, the first step is to prepare your bucket. Drill holes all around the bucket using a 1/4 inch or 1/2 inch drill bit, leaving about 4-6 inches of space between each hole. These holes will allow air exchange and mushroom growth. Wash your bucket and lid with warm soapy water and rinse well.
The next step is to pasteurize your substrate to kill any unwanted organisms that could compete with the mushrooms. There are different ways to pasteurize your substrate, but we will use the hot water method as an example.
Fill a large plastic tote or container with water and bring it to a boil on a stove or burner. Add your substrate to the boiling water and stir well. Cover the container with a lid or cover and let it soak for about an hour. Alternatively, you can use hydrated lime solution instead of water for pasteurization. To make hydrated lime solution, mix one cup of hydrated lime with five gallons of water in a large container. Add your substrate to the solution and stir well. Cover the container with a lid or cover and let it soak for about 16 hours.
After pasteurizing your substrate, you need to let it cool down and drain excess water before adding the spawn. You can either let it cool overnight or use cold water to speed up the process. To drain your substrate, you can use a colander, a mesh bag, or a pillowcase. Squeeze out as much water as possible from your substrate until it is moist but not dripping wet.
Now that your substrate is ready, you can add your oyster mushroom spawn to it. Break up your spawn into small pieces and mix it well with your substrate in a large bowl or container. You want to distribute the spawn evenly throughout the substrate so that every part of it gets colonized by the mushroom mycelium.
Take your prepared bucket and fill it with your substrate-spawn mixture, packing it firmly but not too tightly. Leave about 2 inches of space at the top of the bucket. Put the lid on your bucket and cover it with a clear plastic bag. Poke some small holes in the bag for ventilation. Label your bucket with the date and the type of mushroom you are growing.
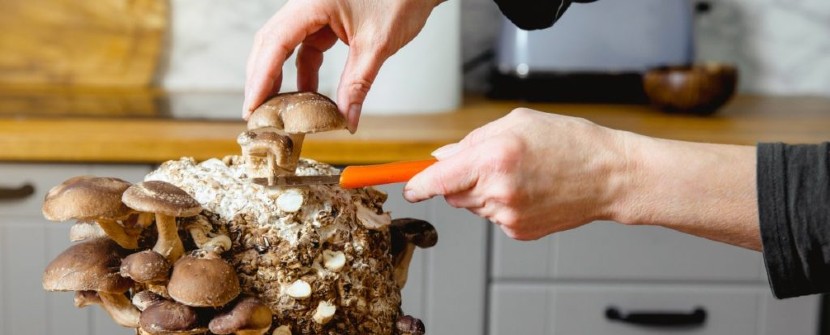
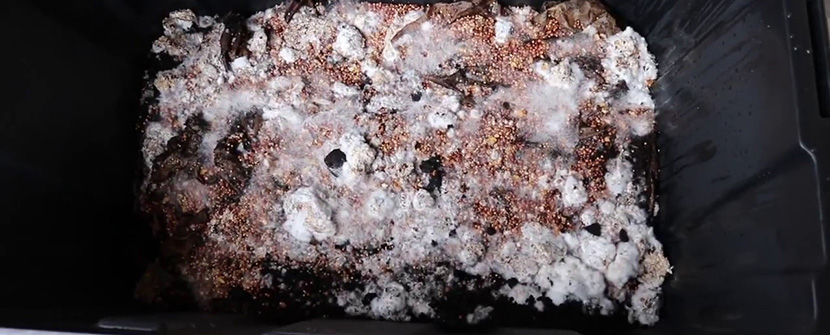
Place your bucket in a dark and warm place, such as a closet, a basement, or a garage. The ideal temperature for oyster mushroom colonization is between 65°F and 75°F. Keep your bucket in this environment for about 2 to 4 weeks, or until you see white mycelium covering the entire surface of the substrate and growing out of the holes in the bucket. This means that your bucket is fully colonized and ready to fruit.
To fruit your bucket, you need to expose it to light, fresh air, and humidity. Move your bucket to a bright and airy place, such as a windowsill, a balcony, or a greenhouse. The ideal temperature for oyster mushroom fruiting is between 55°F and 70°F. Remove the plastic bag and the lid from your bucket and mist your mushrooms daily with water to keep them moist. You should see small mushroom pins forming within a few days, which will grow into full-sized mushrooms within a week or two.
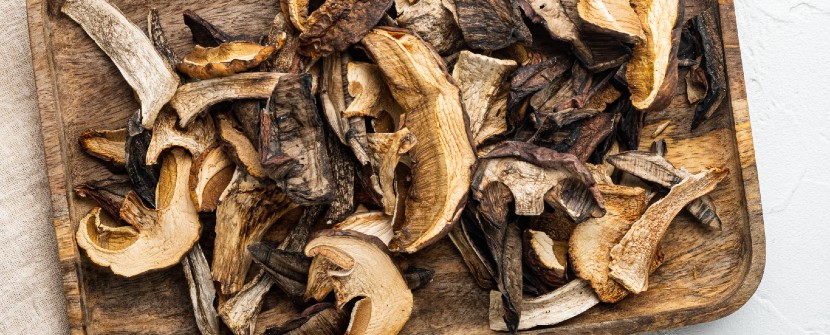
When your mushrooms are ready to harvest, you can simply twist them off from the substrate or cut them with a sharp knife. You can harvest your mushrooms when they are young and tender, or wait until they are fully mature and have opened their caps. It's up to you and your preference. You can store your fresh mushrooms in a paper bag in the refrigerator for up to a week, or dry them for longer storage.
You can also get a second flush of mushrooms from your bucket by soaking it in cold water for about 12 hours and repeating the fruiting process. You may get smaller yields from the second flush, but it's still worth trying.