Mushrooms are a delicious and nutritious food that can be grown in your own backyard. However, cultivating mushrooms outdoors requires some planning, preparation, and patience. In this blog post, we will guide you through the basics of outdoor mushroom cultivation, including choosing a suitable site, selecting a mushroom species, preparing the substrate, inoculating the spawn, maintaining the conditions, and harvesting the fruits.
Choosing a Suitable Site
The first step in outdoor mushroom cultivation is to choose a suitable site for your mushroom bed. The site should have the following characteristics:
- It should be shaded from direct sunlight, as mushrooms prefer dark and moist environments.
- It should have good drainage, as mushrooms do not like waterlogged soils.
- It should be protected from strong winds, as mushrooms are sensitive to drying out.
- It should be away from sources of contamination, such as pesticides, herbicides, or animal feces.
Some examples of suitable sites are under trees, along fences, or in raised beds.
Selecting a Mushroom Species
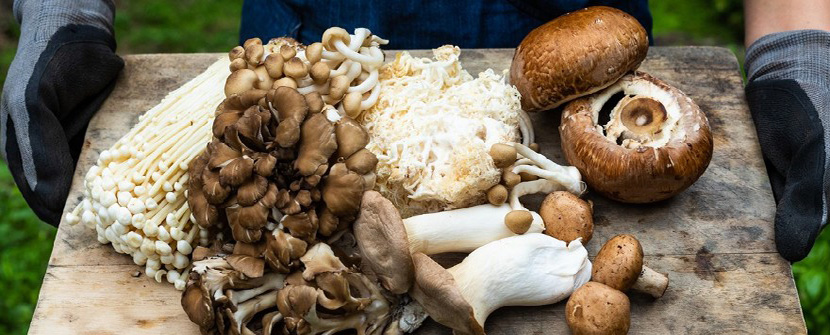
The next step is to select a mushroom species that is suitable for outdoor cultivation. There are many types of mushrooms that can be grown outdoors, but some of the most popular ones are:
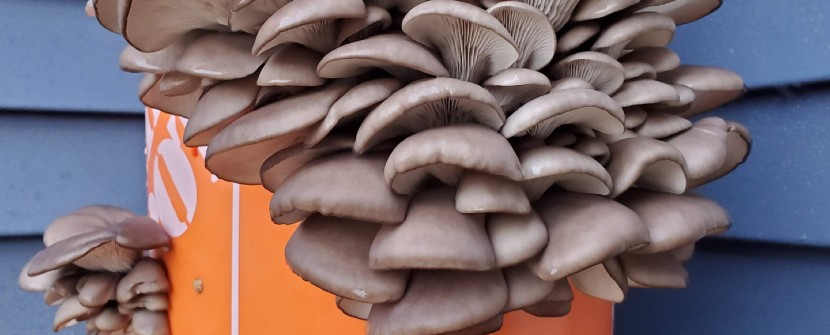
- Oyster mushrooms (Pleurotus spp.), which are easy to grow and have a mild flavor. They can grow on various substrates, such as straw, wood chips, or cardboard.
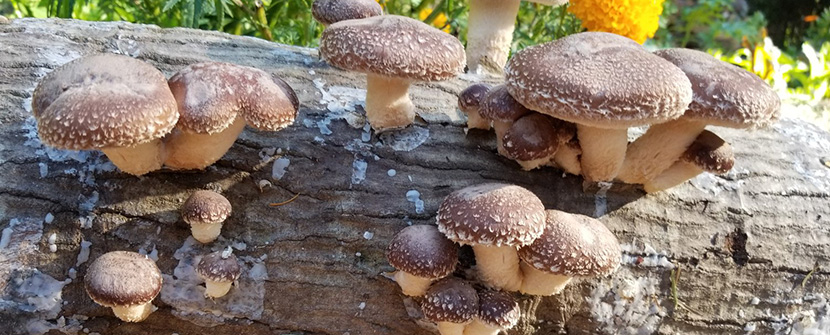
- Shiitake mushrooms (Lentinula edodes), which are highly prized for their meaty texture and rich flavor. They require hardwood logs or sawdust as their substrate.
- Wine cap mushrooms (Stropharia rugosoannulata), which are also known as king stropharia or garden giant. They have a nutty flavor and can grow on wood chips, straw, or compost.
- Lion's mane mushrooms (Hericium erinaceus), which are also known as bearded tooth or pom pom. They have a seafood-like flavor and can grow on hardwood logs or sawdust.
Preparing the Substrate
The substrate is the material that provides nutrients and moisture for the mushroom mycelium to grow. The substrate should be pasteurized or sterilized before inoculation to prevent contamination by unwanted organisms. The method of pasteurization or sterilization depends on the type of substrate and the size of the batch. Some common methods are:
- Boiling: The substrate is immersed in boiling water for 30 minutes to an hour.
- Steaming: The substrate is placed in a steamer or a pressure cooker and steamed for 90 minutes to 2 hours.
- Baking: The substrate is spread on a baking sheet and baked in an oven at 150°C (300°F) for 2 hours.
- Microwaving: The substrate is placed in a microwave-safe container and microwaved on high for 10 minutes.
Inoculating the Spawn
The spawn is the material that contains the mushroom mycelium. It can be purchased from a reputable supplier or made at home using spores or tissue culture. The spawn should be fresh and healthy, with no signs of mold or contamination. The spawn should be mixed with the substrate at a ratio of 5% to 10% by weight. For example, if you have 10 kg of substrate, you will need 0.5 kg to 1 kg of spawn. The spawn can be mixed with the substrate by hand or by using a tool such as a rake or a shovel.
Maintaining the Conditions
After inoculation, the mushroom bed should be covered with a layer of mulch, such as straw, hay, leaves, or newspaper. This will help retain moisture and protect the mycelium from temperature fluctuations and pests. The mulch should be moistened regularly with a spray bottle or a hose, but not soaked. The ideal moisture level is when you can squeeze a handful of mulch and get a few drops of water out.
The mushroom bed should also be checked periodically for signs of growth and contamination. The mycelium will appear as white or colored threads running through the substrate. If you see any green, black, or fuzzy mold growing on the surface, you should remove it carefully and dispose of it.
Harvesting the Fruits
The time it takes for the mushrooms to fruit depends on the species, the substrate, and the environmental conditions. Generally, it can take anywhere from a few weeks to several months. You will know when the mushrooms are ready to harvest when you see small bumps or pins forming on the surface of the substrate. These will grow into mature mushrooms within a few days.
To harvest the mushrooms, you should twist them gently at the base and pull them out. Do not use a knife or scissors, as this can damage the mycelium and reduce future yields. You should harvest the mushrooms before they open their caps fully and release their spores, as this can affect their quality and flavor.
You can store the harvested mushrooms in a paper bag or a cardboard box in the refrigerator for up to a week. You can also dry, freeze, or pickle them for longer storage.
Enjoy Your Mushrooms!
Outdoor mushroom cultivation is a rewarding and fun hobby that can provide you with fresh and tasty mushrooms. By following these simple steps, you can grow your own mushrooms in your backyard and enjoy the fruits of your labor. Happy mushrooming!